Table of Contents
- Seller Onboarding for Dropship
- 1. Create Account or Accept Account Invitation
- 2. Integrate Platform
- 3. Update Business Settings
- 4. Partnership Actions
- 5. Review Products and discuss merchandising strategy with your partner
- 6. Mark products 'Active' or 'Inactive'
- 7. Setup pricing for desired product catalog
- 8. Place a test order
- 9. Order Fulfillment Protocol
- 10. Invoicing Protocol
- 11. Address any errors showing in the Issues section
- FAQs
Step by Step for Seller Onboarding
- Seller Onboarding for Dropship
- 1. Create Account or Accept Account Invitation
- 2. Integrate Platform
- 3. Update Business Settings
- 4. Partnership Actions
- 5. Review Products and discuss merchandising strategy with your partner
- 6. Mark products 'Active' or 'Inactive'
- 7. Setup pricing for desired product catalog
- 8. Place a test order
- 9. Order Fulfillment Protocol
- 10. Invoicing Protocol
- 11. Address any errors showing in the Issues section
- FAQs
Seller Onboarding for Dropship
1. Create Account or Accept Account Invitation
There are two ways to get started with using Modern Dropship, as a New Modern Dropship Seller or by using your existing Modern Dropship account. You will receive an email invite to join the new Buyer.
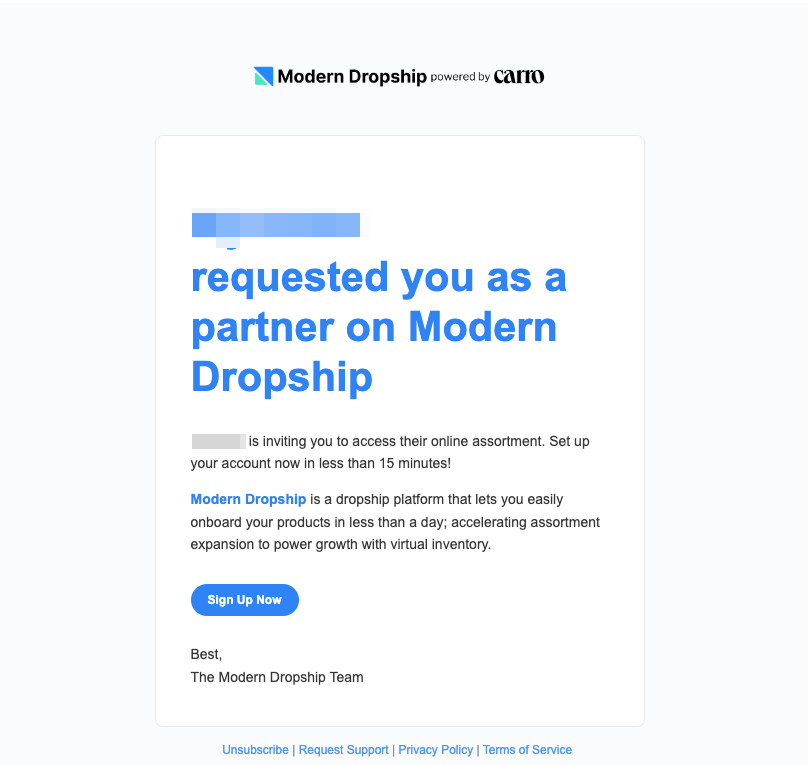
New Modern Dropship Seller:
If you are new to Modern Dropship you will use the Signup option. This will allow you to create a new Modern Dropship account to start selling. (Note: Do not create a new Modern Dropship account if you are an existing user, if you would like to create another account please contact us at Support@moderndropship.com)
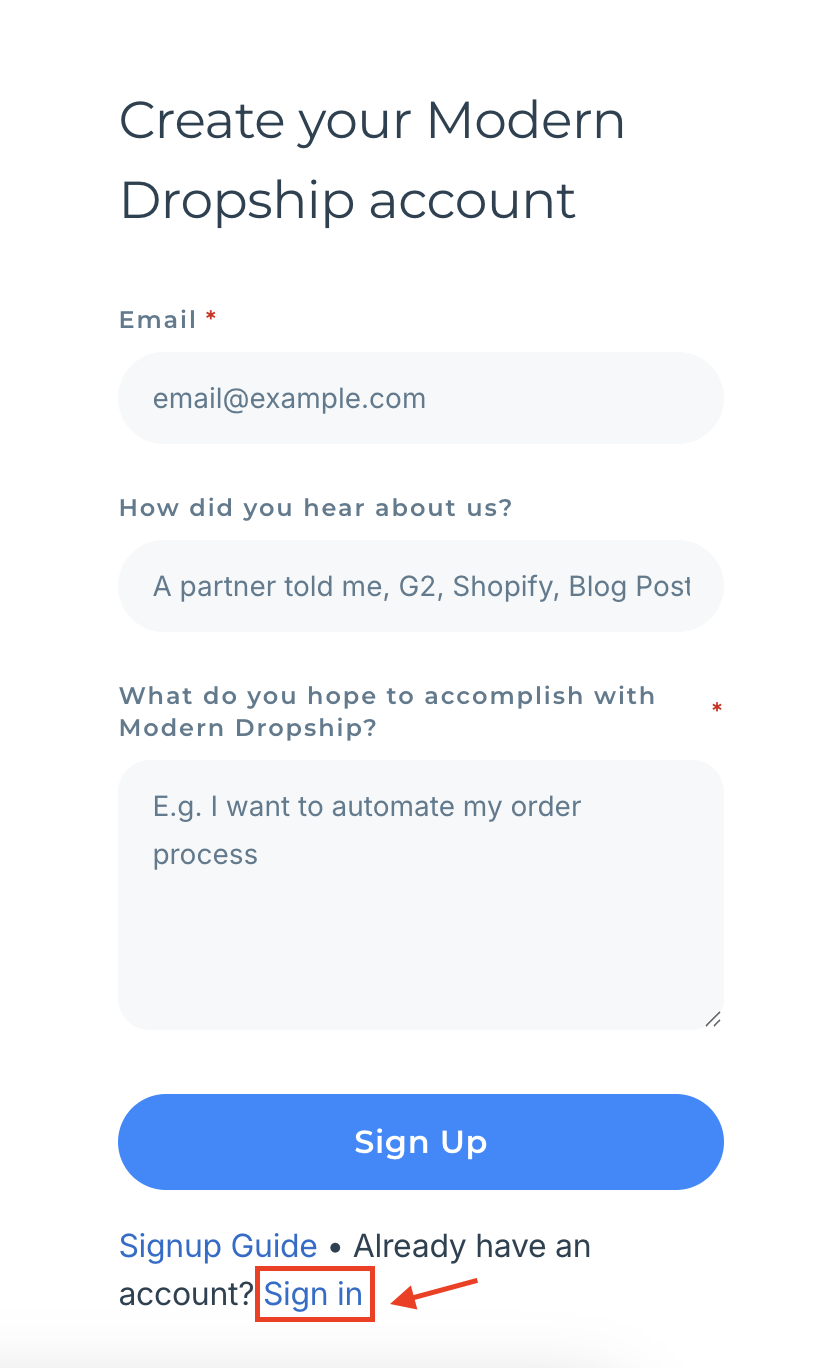
Existing Modern Dropship Seller:
You will receive the same invite as above but when instead of signing up use the "Sign in" option located at the bottom of the Signup box.
2. Integrate Platform
Once you have created your account and logged in you can ensure that your ecommerce platform is integrated correctly so your products will upload to Modern Dropship automatically. The following ecommerce platforms are available to integrate:
You can follow the appropriate guide to connect your platform. If you run into any issues with the integration please reach out to our support team at support@moderndropship.com.
Once you have connected your platform you will see your products sync within 1 hour. In order for the products to sync properly they will need to be published and showing on the storefront of your platform.
3. Update Business Settings
Once you have your ecommerce platform integrated, and your products are in the process of being uploaded to Modern Dropship you can proceed with updating the following settings:
- Please make sure your company details including your URL are correctly listed in this section.
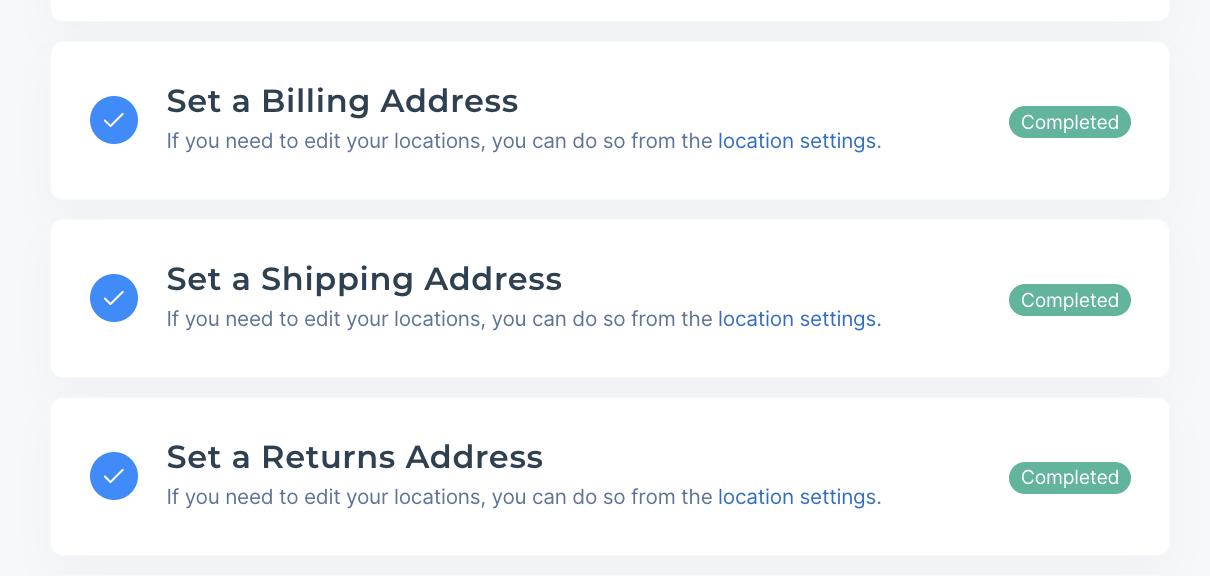
As a new feature we will now populate the Billing Address automatically using information we fetch from your platform. You can use this same address to populate both the Shipping and Returns address as well.

- Please ensure that the Billing location is correct. This address will be used to calculate the tax rate for invoicing partners if you do not use Stripe for invoicing.
- You can invite members of your organization in this section to provide them with access to the Modern Dropship dashboard. If you plan on managing multiple accounts on Modern Dropship you can review this guide to switching between accounts.
- Manage notifications sent to your team members from this section. Each team member has control over their own notifications when logged into Modern Dropship.
- If you plan on invoicing your partners using Stripe please set up your Stripe account here. Once your account is setup, any orders that get fulfilled for partners eligible to be invoiced through Stripe (see partners section to confirm eligibility) automatically. Be sure to review our documentation on invoicing for a comprehensive guide.
- Supported carriers and shipping methods can be outlined here. Keep in mind that these rates do not sync to your partners platform in real time so any geographic exclusions must be communicated to your partner directly.
4. Partnership Actions
- Discuss requirements with your buying:
5. Review Products and discuss merchandising strategy with your partner
By now your products should be showing in the Products tab of your Modern Dropship dashboard. Be sure to review your products to ensure they meet your partners merchandising requirements. This may include:
Product details (SKU or barcode requirements)
- Adding barcodes in WooCommerce
- Inventory policy
- Product / variant structure
- Images
- Ensure your Buyers product validation requirements are met.
- Packing slip protocol
6. Mark products 'Active' or 'Inactive'
After your catalog has synced, review the products to confirm their availability:
- Set items you want to sell as Active.
- Set items you do not want to sell as Inactive.
For step-by-step instructions, see this guide.
7. Setup pricing for desired product catalog
Once your products are uploaded, you can set up pricing by creating a new price list.
Go to the Prices section of your Modern Dropship dashboard and click New Price List to begin.
On the Create a Price List page, there are several key settings you’ll need to review and configure. We strongly recommend reading the following support articles before proceeding:
Once you have an understanding of the price lists you can fill out the settings on the creation page. Because you have already toggled products to inactive that are not intended for sale we recommend pricing all products automatically rather than one by one.
Once the price list is created ensure that you have set the following settings appropriately:
If your margins are not consistent across the entire catalog you will need to update your prices one by one. Before doing so ensure that the ‘Ignore Product Updates’ setting is toggled on.
8. Place a test order
Once the price list is created you can run a test order from the Get Started page. See this document for a walkthrough of that process.
9. Order Fulfillment Protocol
When marking orders as fulfilled in your ecommerce platform you will need to include a carrier name and tracking number to successfully update the order status in Modern Dropship. If you don’t include those details you will receive an error message in the Issues section of your Modern Dropship dashboard. If you do not send shipments with tracked rates, use a placeholder number for the tracking. If you are integrated using WooCommerce you will need to use this plugin to update those fulfillment details successfully.
10. Invoicing Protocol
Once an order has been marked and fulfilled in your ecommerce platform it will update to ‘Shipped’ in Modern Dropship.
- If you invoice through Stripe, the order will automatically be invoiced at this time. The tax applied to the order must be set up from your Stripe dashboard.
- If you invoice your partner external to Modern Dropship, you will see an invoice total showing in the order page. The tax applied to the order is calculated based on the Billing location you have set.
Any invoices where payment has failed will show up in the Issues section of your Modern Dropship dashboard. Stripe invoices that have failed can be retried directly from the Stripe dashboard. If you received continued payment errors please contact the partner associated with the order.
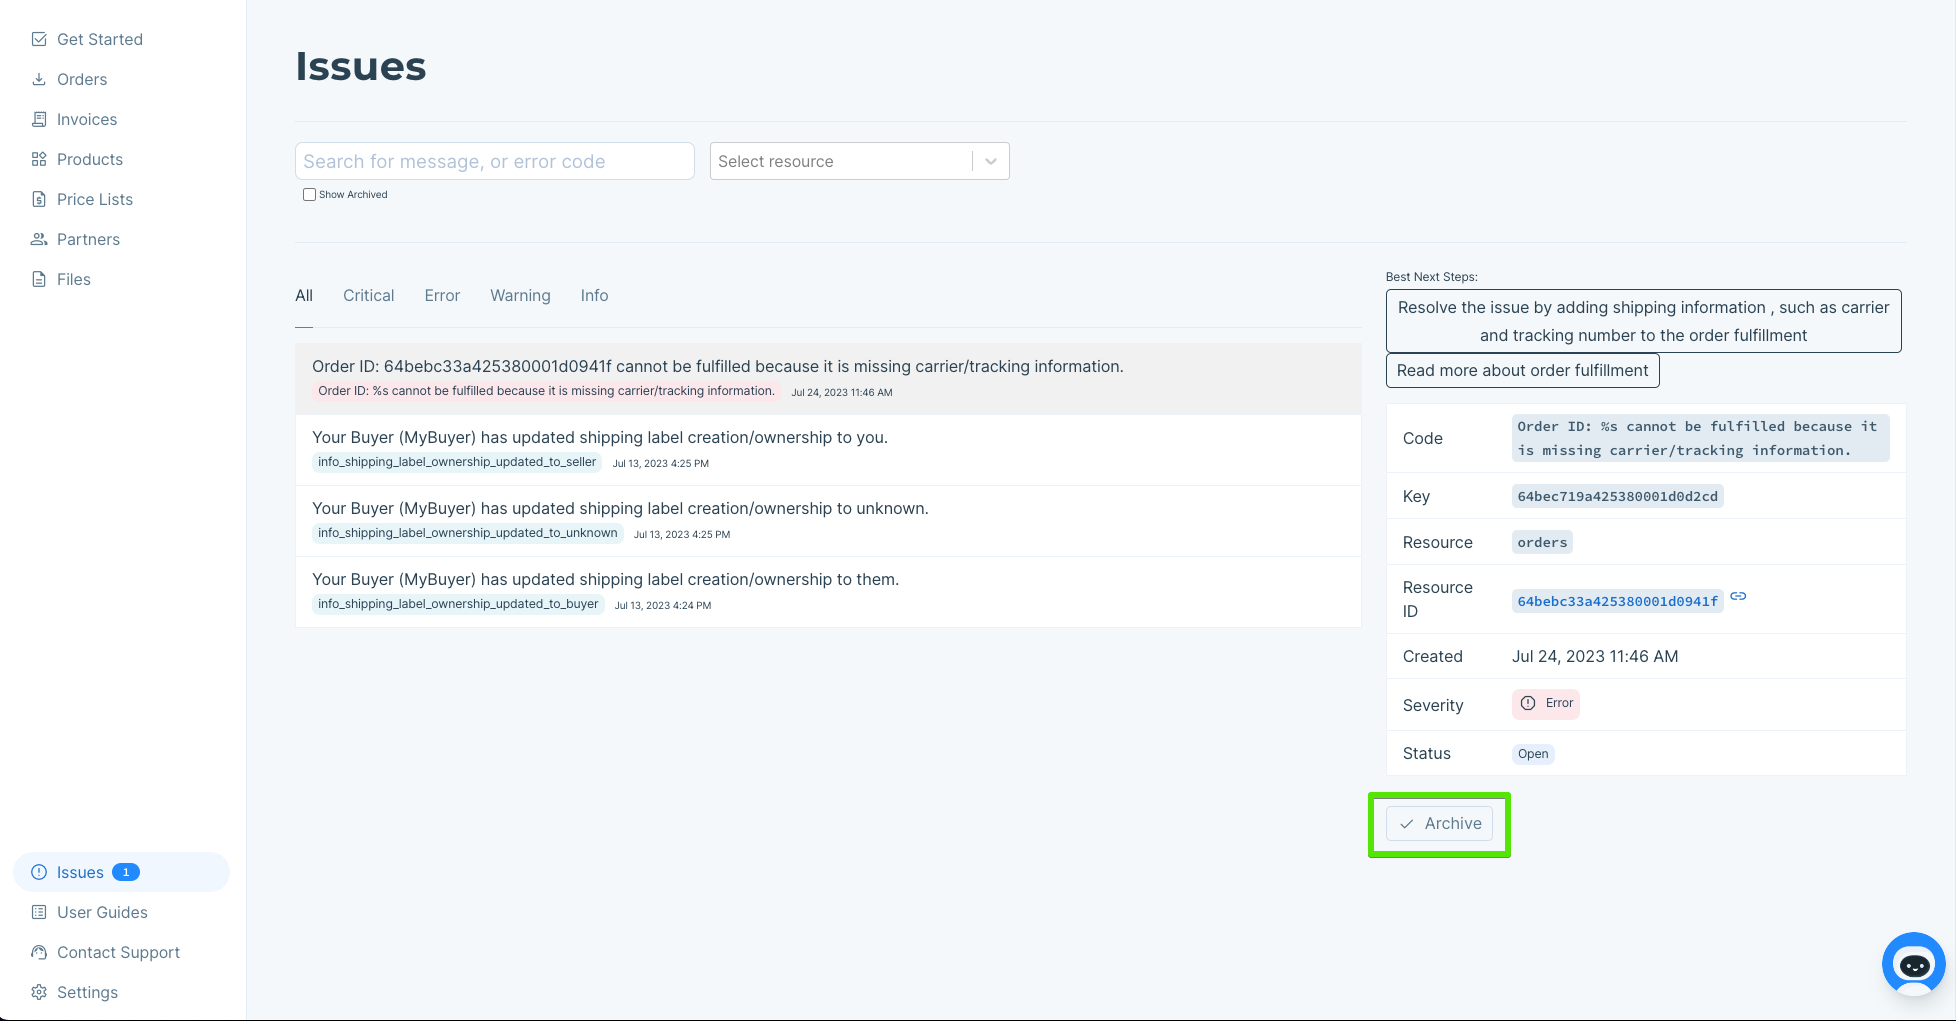
11. Address any errors showing in the Issues section
Be sure to review any errors that show up in the Issues section. Common errors include:
- Issues with order syncing (out of stock, platform integration, missing carrier details)
- Failed invoice payments
- Price list errors
Instructions to resolve each error will be given on that issue. Once an error has been handled you can mark it as archived using the option showing below:
SELLER ONBOARDING COMPLETE
____________________________________________________________________________
FAQs
Ongoing product maintenance tips:
- If you are updating product details such as the description or product images you will need to have your partner de-select and re-select that product in their Modern Dropship dashboard to sync those changes to their ecommerce platform.
- Changes to the retail price of a product may affect your price list depending on the settings. Be sure to carefully review the section on setting up pricing before pushing price changes from your ecommerce platform. This is especially important if you are putting products on discount for your customers but do not want that to sync to your partners. Any price changes you want to sync to your partner should be communicated to them explicitly.
- When adding new products to your catalog and syncing them to Modern Dropship, always check to make sure they have been added to a price list assigned to the partner you want them synced to. Depending on your price list settings, they may not sync automatically.
Processes to avoid:
- Never add or remove variants from a product in your ecommerce platform if it has been synced to Modern Dropship. This may result in an ‘item not recognized’ error
- Never cancel an order in your ecommerce platform without communicating that explicitly with your partner. Orders that are canceled will automatically refund the buyers customer so you should wait for approval from your partner before taking this action.
- Never fulfill an order without including both a carrier name and tracking number. This order status will not successfully update in Modern Dropship and instead return an error.