Getting Started on Modern Dropship
Passwordless Sign-in
Step by Step for Buyer Onboarding
Step by Step for Seller Onboarding
Successful Support Interactions
System Status
Integrations
Shopify
Connecting Shopify
Shopify Location Filter for Inventory
Shopify Product Syncing
Updating Shopify Store URL
WooCommerce
Adding Barcode Values in WooCommerce
Connecting WooCommerce
How can I confirm that Modern Dropship can pull my Products from my WooCommerce Store?
Updating your WooCommerce URL
Magento 2
BigCommerce
CSV managed account
Connecting through SFTP
Downloadable Image Links
Fixing SKUs in Scientific Notation
How to Resolve " Your SFTP user requires delete permission on your SFTP server."
How to Resolve "Unable to access your SFTP server"
How to Resolve "Your SFTP user requires read permission on your SFTP server"
How to Resolve "Your SFTP user requires write permission on your SFTP server."
Importing Products using a CSV file in the Modern Dropship web app
Manual Fulfillment
API
Building API Integrations
Getting Started with Webhooks
Getting Started with the Buyer API
How to Create an Order for the Buyer API
Webhook FAQ
EDI
Connecting through Seller EDI - Invoice (810) Specification
Connecting through Seller EDI for Dropship
Connecting through Seller EDI for Dropship - Advance Ship Notice (856) Specification
Connecting through Seller EDI for Dropship - Inventory Update (846) Specification
Connecting through Seller EDI for Dropship - Purchase Order (850) Specification
Connecting through Seller EDI for Dropship - Purchase Order Acknowledgements (855) Specification
Downloading EDI Files
How to Create a Test Order as an EDI Seller
How to Resend an Advance Ship Notice
How to Resolve "Already Processed Files"
Seller EDI Quick Reference
EDI - Fall 2024 and later
Advance Ship Notice (856) Specification
Connecting through Seller EDI
Inventory Update (846) Specification
Invoice (810) Specification
Purchase Order (850) Specification
Purchase Order Acknowledgements (855) Specification
Seller EDI Quick Reference: Fall 2024 and later
Migrating Ecommerce Platforms
Supported Connection Methods
Account Management
Connecting Easypost
How to Change Your Commerce Type
Inviting Team Members
Managing Issues
Managing Multiple Accounts
Managing Notifications
Reporting
Setting Billing Address
Viewing Subscription Info
Partners
Actions & Action Templates
Adding Partners
How to Determine the Remaining onboarding steps for a Partner
Seller SLAs
Products
Autonomous Merchandising
Buyer Product Validation Guide
Exclusive Collaborations - Syncing Unpublished Products
How Inventory Sync Works
How to Solve Shopify "Item Not Recognized" Error
Marking Products as Active or Inactive
Selecting Products
Pricing
Create a Price List For a Smaller Catalog
Editing Price Lists
How to Set Up Pricing
Price List FAQs
Promotional Price Lists and Discounts
Orders
Cancelling Orders
Check Order Status
Fixing an Order Sync Timeout Error
Fulfilling orders from your ecommerce platform
Handling Returns
Packing Slips - Buyers
Packing Slips - Sellers
Sending Test Orders
Invoicing
Configuring Per-Order Fees
How Invoicing Works
How to Delay an Invoice
Partnership Billing Settings
Understanding Per-Order Fees
Platform
General Dropship Information
Table of Contents
- All Categories
- Integrations
- Shopify
- Connecting Shopify
Connecting Shopify
The purpose of this guide is to walk through the steps of connecting Modern Dropship to your Shopify store.
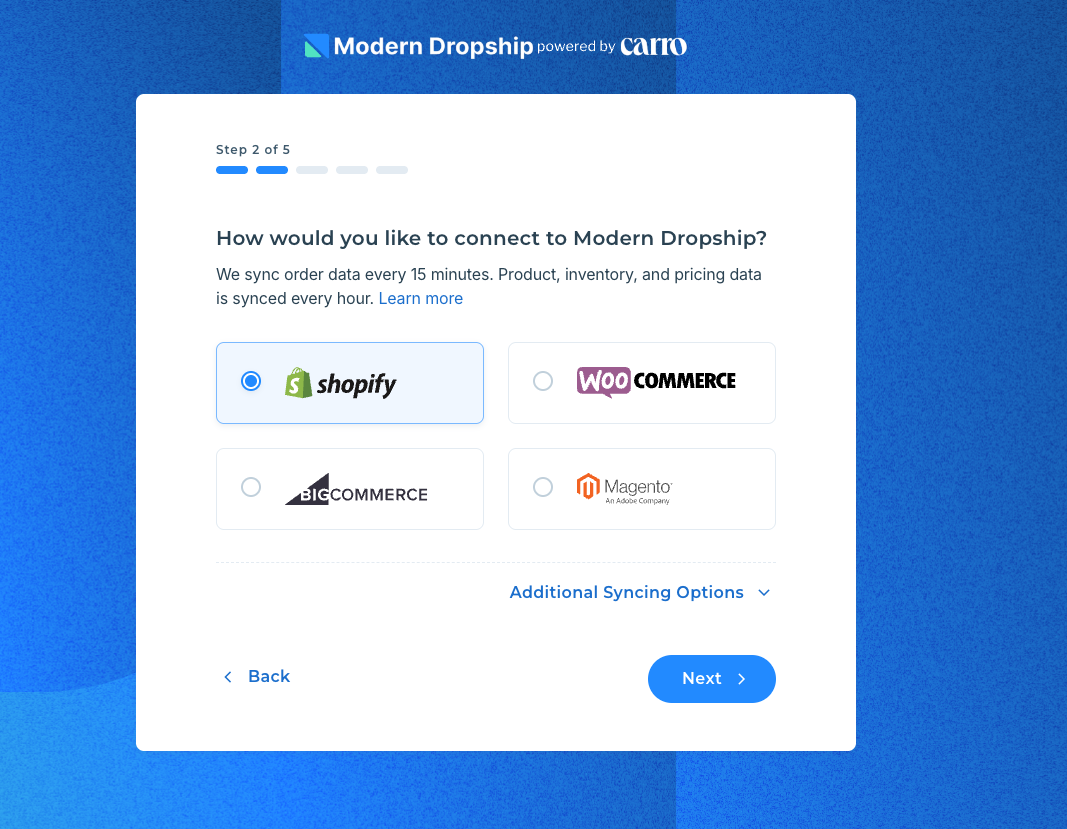
Step One: Select Shopify as your integration type
During our account creation process, you will be first be asked what role you are playing in the relationship with your partner (either a buyer or a seller) and after that you will be asked to specify your integration type. Select Shopify as showing below:

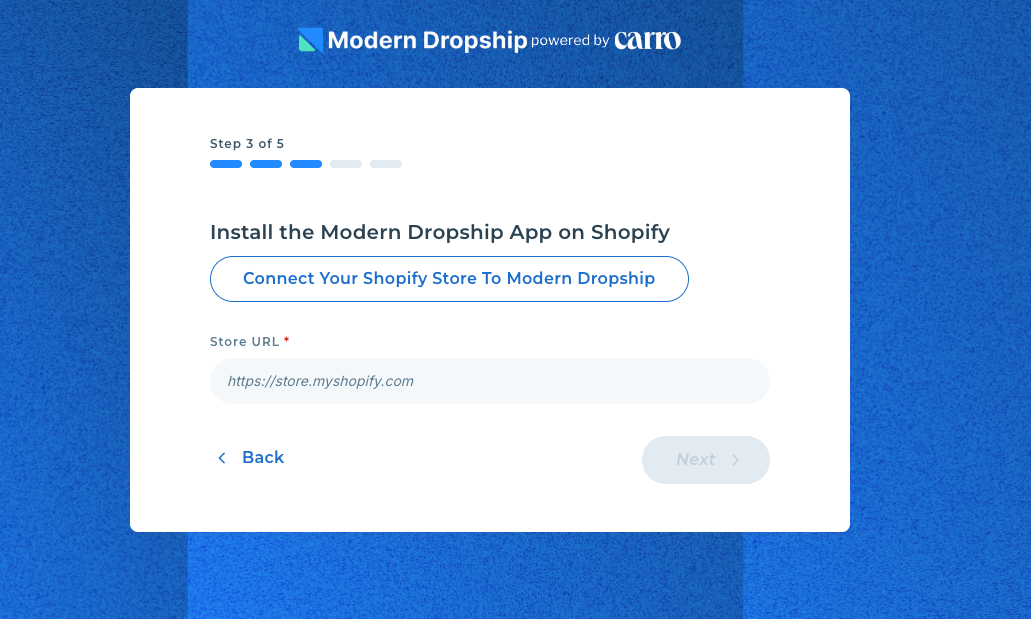
Step Two: Install Modern Dropship on the Shopify App Store
From here you will be asked to Connect your Shopify store to Modern Dropship. Clicking that button will open up the Shopify store selector and all available stores used by the email you are creating the account with.

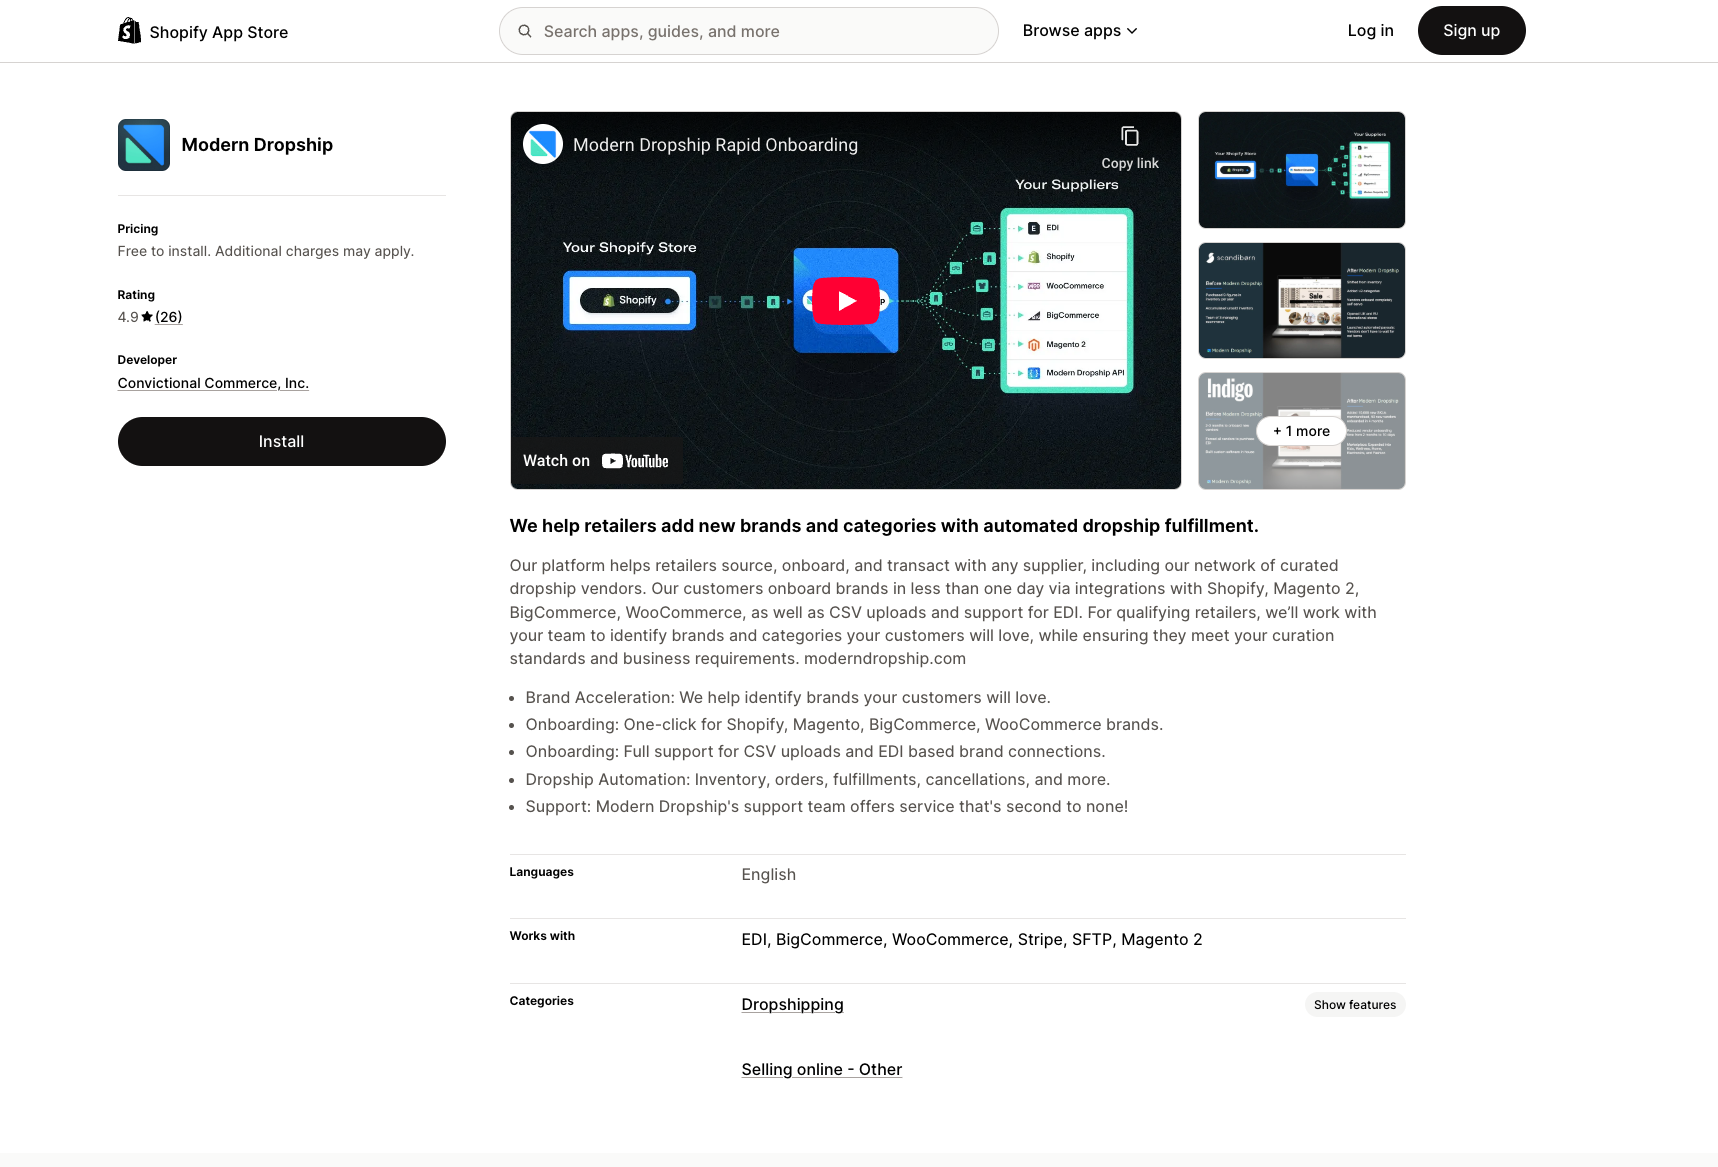
From there you will be asked to Install the Modern Dropship app from the Shopify app store:

Make sure you are logged into the correct store you want to integrate with the app!
Step Three: Confirm Account details
Once you accept the permissions we will redirect you back to Modern Dropship and be asked to confirm that the Shopify URL is correct.
As long as you have selected the correct account from the menu you can proceed by hitting 'Next'.
You will be asked to confirm the settings one last time before creating the account and from there you will arrive in the Modern Dropship dashboard.
Next Steps
With your Shopify store now connected, we will be able to sync your information with your partners. By default, we will sync active products, inventory counts, and order fulfillments.
If you are a buyer, your next step is to invite your partners. You can do so on the Partners page. See our guide: Adding Partners
If you are a seller, your next step is to setup your pricing. You can do so on the Prices page. See our guide: Setup Pricing
